Features
Settings
The first thing you want to do is create some settings. A .tagitrc file is loaded from your current directory first, then home, then defaults. So you can have a file structure as below, loading the database from wherever you run tagger.:
~/.tagitrc
~/collections/first/.tagitrc
~/collections/first/first.db
~/collections/first/thumbs
~/collections/second/.tagitrc
~/collections/second/second.db
~/collections/second/thumbs
In a settings file, you mostly want to have the following config:
"session" : {
      "database"                    : "</pth/to/db>"
    , "window_size"                 : "1024x768"
    , "verbose"                     : false
    , "debug"                       : false
},

"model" : {
      "thumbnail" : {
          "path"                    : "</pth/to/thumbs>"
    }
}
Maybe also change the initial row/columns count:
"view" : {
      "rows"                        : 6
    , "columns"                     : 6
}
And you can specify what tags to generate when importing:
"extractor": {
      "constant"                    : ["Tag1", "Tag2", "Tag3"]
    , "path" : {
            "extension"             : false
    }
}
A full list of settings is printed by:
tagger info settings
Importing
Next thing to do is import some images. Check your settings first, especially the extractor part. There, you can specify tags to be attached automatically. You can either use the gui or the following command:
tagger index -r add /pth/to/images
-r makes it go through directories, add means that images will ignored if indexed before.
In the gui, hit the add button (+) and select the directory. The gui will freeze until indexing is finished. Which can be a while, so I prefer the command version.
Either way, you end up with your database from the settings file and a couple of thumbnails. You’re ready to proceed with the gui.
Viewing Images
Start the gui:
cd /pth/to/collection
tagger
Hit F5 to see some images.
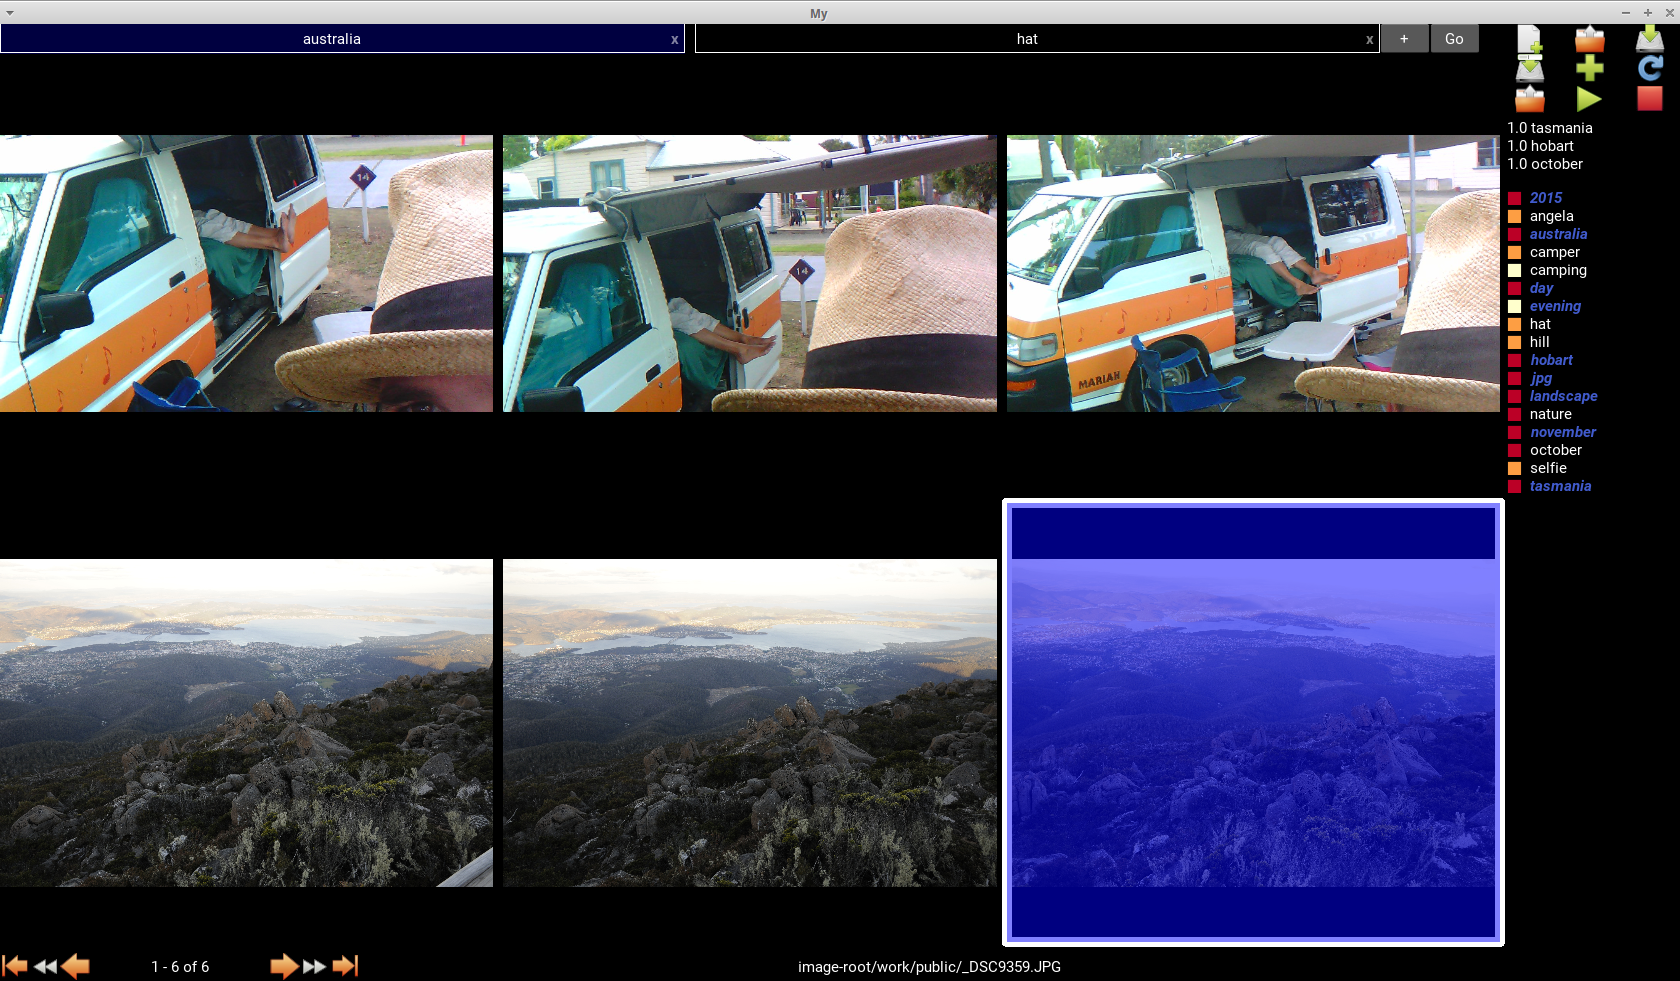
Most of the screen is filled with images. On top, there’s the filters (like an address bar). To the side, some buttons and text is displayed.
Hit SHIFT + / (or ‘?’ on an us keyboard) to see the keybindings. Go through them, it can really speed the process up. Most of the features are easily reachable via keybindings, and most of them are pretty common anyways. For example, in browsers CTRL + k brings you to the search and CTRL + l to the address bar. j and k for scrolling is known in less, vim or nethack. F5 is common for reloads, SHIFT and CTRL for selection.
Navigation
There’s the browser, showing you all the images. It works like a filebrowser, you can move the cursor and click to select. With the scroll buttons, the keyboard or the scrollwheel, you can move through the images. With CTRL pressed and the scrollwheel, you change the grid size of the browser. Very convenient!

Tags
In addition to that, you move through images with filters. Add a filter by pressing the + button on top or type CTRL + k. Enter a tag name and confirm. Only images including this tag will then be shown. Adding more tags stacks the filters and further reduces the number of images you’ll get to see.

A convenient function is to hit CTRL + ENTER or DEL on some selected images, to either show only them or remove them.
In order to have this search working, images have to be tagged. For each image imported, you have to add some tags. By selecting several images you can edit tags for many images at once. Add or edit tags via CTRL + t or CTRL + e.
And you’re rewarded with an even cooler feature. The search filters allow you to go one level up or down. Wanting to see the previous screen? Hit ALT + LEFT. Apply all filters? Use ALT + RIGHT.
Sidebar
Let’s take a bottom up approach.
The concept of tags stays influential, also to the right side. You’re presented a list of tags. Tags found in the list of currently selected or highlighted (i.e. the cursor) images are marked. To the left there’s a color box, indicating how frequent the tag is. The more red, the more often the tag is used. The more white, the rarer it is.
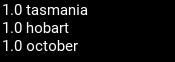
The top entries don’t have the colorful box. These are tags recommended to search for (because some secret measure says so).
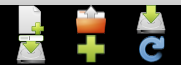
On the very right corner, there’s some buttons, usually found in the File menu. In order (left-right, top-bottom), they are
- New: Create a new database.
- Load: Load a database file.
- Save: Save the database.
- Save as: Save the database under a different name.
- Index: Add some images. Works recursively on the directory selected.
- Revert: Undo all changes since the last save.
Programmes

Not to mixed up with the database buttons, these three control a programme.
The currently only programme is a breadth-first image tagger. Sounds confusing, but the concept is simple. It’s a method to create tag hierarchies.
After starting the program, you select some images and add a tag. They are then removed from the current display. You continue selecting and adding tags. At some point, the display is empty. When this happens, you’ll be presented with your previous selections again, one after one. You still continue selecting and adding a tag. Add an empty tag, if you wish to see these images never again (at least not until the program stopped).
Sounds a bit complicated, but the use case is the following. I have some images from a journey. I can easily subdivide these images into episodes, for example the countries. Then departement, then city, Then event.
By presenting fewer images, the oversight is better. And tagging many images at once speeds up the process.
Press the start button for the program, hit the pause button to intercept at any time. The stop button brings you back to the initial screen.
Other constraints
When adding a filter token (CTRL + k), you can also go for a image attribute. Like the width or aperture. You always give a range and you always have to maintain the format below. Otherwise, you’ll get an error.:
!width: [0, 2200]
or:
!aperture: [2.3, 7.9]
More about tags
You can fiddle around with tags statistics on the terminal. Check out:
tagger tags -h
More features
Though the main features were discussed, tagit can do more.
Everything you did took part in the database only. You can write tags back to the image, as IPTC keywords, which is a convenient way to use your work with other programs.
You can also merge two databases, in case you decided to work with seperate collections and regret the decision.
We have some cleanup tools to search the database for dead entries and remove them.